CLICK HERE FOR FREE BLOGGER TEMPLATES, LINK BUTTONS AND MORE! »
Showing posts with label Holiday Mini Catalog. Show all posts

Wednesday, January 11, 2012

Final Holiday Mini Post 2011

We had a few cards that Nanci did this fall that we did not get around to sharing with you!  Hope you enjoy them!   


You cannot go wrong with the Top Note die!


I love this combination - Natural White, Crumb Cake, Early Espresso card stock with Cherry Cobbler accents!  It's absolutely gorgeous!


Punches add dimension and whimsy to your cards and they are quick and easy!


A vintage Christmas combo!
These cards and matching envelope were part of  a free class we offered with the Simply Scored Scoring Tool!  Have you tried the water color paper from Stampin' Up? 

 We will post pictures from our retreat last weekend soon!  Our guests created a scrapbook layout for each month of the year complete with photos and embellishments!  

It was unseasonably warm last weekend in Michigan.  Nanci spotted some Pansies blooming in the flower bed at the front entrance to Lake View Lodge.  


Yes, pansies in January, in Michigan!  Last Monday we had a snowstorm and this Sunday we have pansies! Even odder  . . . here is a photo of the same flowers with some of the leftover snow!  A little bit of spring in winter!


Tuesday, January 3, 2012

Holiday Mini 2011 Review

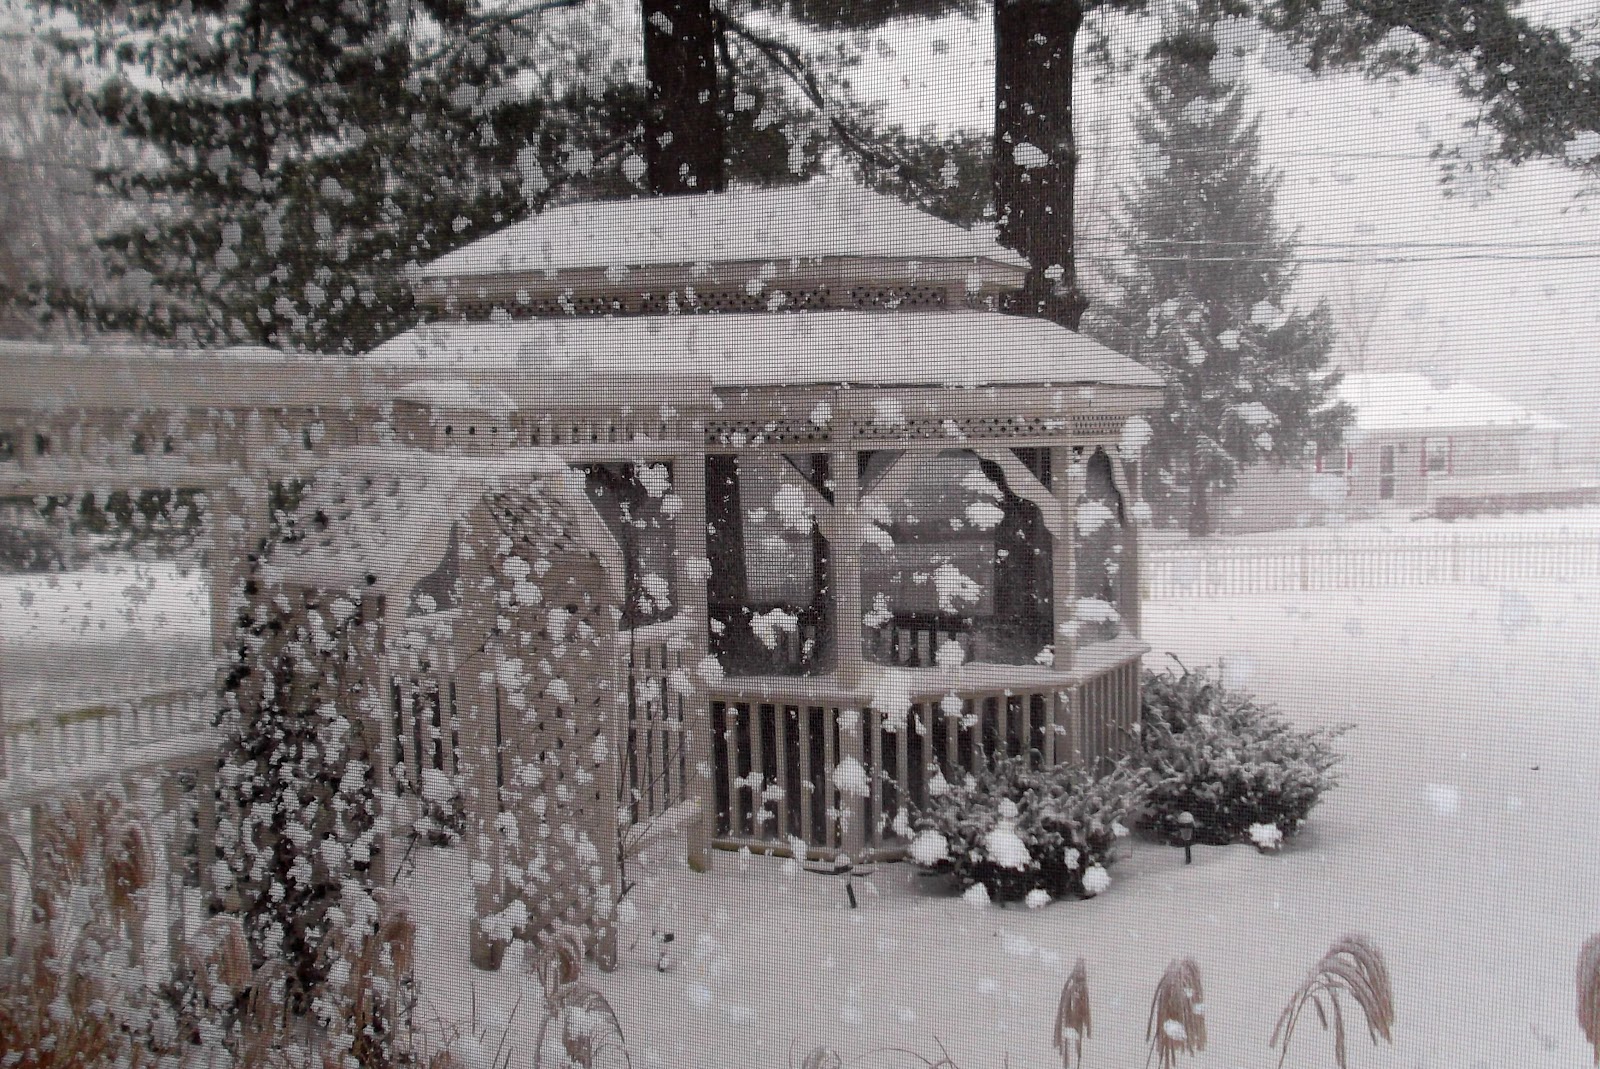
Happy New Year!  Nanci and I were at Lakeview Lodge this weekend preparing for next weekend's retreat - the first of 2012!  Monday morning we woke up to our first real snowfall of the winter season, so I decided to take some pictures of the fresh snow (through the screens on the porch).   

These are some cards we made earlier this fall. 
The door card design is cased from Jennifer Timko.  I love the simplicity of her design!
I love these two cards!  Nanci used the Natural White card stock, Cherry Cobbler embossing powder and Crumb cake Ink.  This color combination is fabulous-the picture just doesn't do it justice!


This card is cased from Sage Kimble's blog.  I changed the design slightly to make it easier and less costly to produce and mail!

The stocking is a gift card holder!


This card is also cased from Jennifer Timko!  The tree panel is Very Vanilla card stock sponged with Always Artichoke ink.  It looks like velvet!  
 
Nanci and I are looking forward to the creative possibilities in 2012.  We hope this season will afford you the opportunity to explore your artistic inspirations as well.  If you are looking for a craft weekend getaway, visit us at Lakeview Lodge!  We are running our Crazy Eight Special - bring your group of eight and the eighth guest is free - a $299 value!  

Saturday, December 11, 2010

Farewell to Candy Cane Christmas DSP

We were saddened to learn that Candy Cane Christmas Specialty DSP is no longer available.  We have really enjoyed the projects that we made with this paper.  We hope you enjoy them too!


Gift Card Holders with the Scalloped Envelope die cut altered to fit regular size gift card. Click here for a link to Tara Bazata's video tutorial!  It's fast and fun! We used velcro to close our gift card holders and a few quick punches and a brad to decorate the envelope!


We cased this gift card holder by Vicki Burdick from Late Night Stampers!  It was so cute!  We made it at our November Stamp Club and at our last retreat at Lake View Lodge!  It's a gift before you open it to get your gift card!


We did not pick the gift card our to match the paper--it was a happy accident!


A Baker's dozen gift tags made with the Tags till Christmas stamp set.


We loved the matching Candy Cane Christmas fabric that Stampin' Up! put out to match this paper.  We used it in place of ribbon to compliment these chocolate bars wrapped in the Candy Cane Specialty DSP.


Fabric ribbon and some fancy penguin punch art adorn these mini milk cartons!  These quirky birds are concealing chocolate treats and their true "owl" identities!


We designed these cards for our Christmas Stamp-a-stack, but we also used them at last weekend's retreat  for a beginner's card class with fantastic results!


Everyone at our retreat loved the dazzling diamonds!  A little "bling" goes a long way!


What would scallops be without a little Crystal Stickles?  Remember to give the stickles some time to dry!


So long Candy Cane Christmas Specialty DSP!  We will miss you!

Monday, October 25, 2010

October Stamp Club

We celebrated the arrival of Fall at our October Stamp Club meeting by making 4 cards using Stampin' Up!'s gorgeous Day of Gratitude and French Foliage stamp sets.  Both of these beautiful sets are featured in the Holiday Mini Catalog.  Our DSP for the evening was Autumn Spice.  With all of the rich colors and texture, this specialty paper is the perfect choice for Fall and Thanksgiving projects.  Combined with card stock and inks in Early Espresso, Cajun Craze, More Mustard, Old Olive, Very Vanilla and Crumb Cake, our fall color palette was complete!

For our first card, we used the French Foliage stamp set. 
We used every stamp in this set to create our background paper and then inked the edges in Early Espresso.  We lightly sponged More Mustard throughout our image to give a more aged look.  Our sentiment from the Holiday Best set was stamped in Cajun Craze, layered on More Mustard and Cajun Craze card stock and popped up with Dimensionals.  For our simple embellishment we cut out a few more stamped leaves, inked the edges for a crisp look, added an antique brad and a twist of twine!  All of our ladies LOVED this card!

For our second card we used the awesome medallion stamp from Day of Gratitude.  This stamp is so bold and versatile!  It can be used for all seasons with  just a change of ink colors, and looks great stamped with multiple colors or in just one tone.  It's perfect as a background stamp using tone on tone, or embossed with Versamark.  It's hard to go wrong with this fantastic stamp!


For our project, we went for multiple colors using our Stampin' Write Markers.  We cut out our medallion and layered it on Early Espresso, More Mustard and Cajun Craze.  Our sentiment is from Teeny Tiny Wishes and punched out with Word Window and layed on a Modern Label punched out in Cajun Craze. 

For our next card we made a gate fold and featured a beautiful patterned paper from the Autumn Spice DSP on one panel and complimented it with a leaf image stamped in tone on tone on the other panel. We Ticket Corner punched our layered panel for added dimension.  Our Day of Gratitude sentiment was punched out using the Decorative Label and made for the perfect card closure!


For our last card we created a quick and easy background using the Bright Blessings Jumbo Wheel rolled twice across our paper in More Mustard ink.  Our three simple images were colored using our Regal markers and punched out using the 1 1/4" Square Punch and then layered on Early Espresso.  We used Crystal Effects on the center of our flowers and added 3 Rhinestones across the bottom for a little sparkle and shine!


We ended our evening by making our Turkey Treat Bags, which have become quite a hit!  You can view these cute little guys in our previous post! Thanks for looking at our projects and Happy Crafting!


Saturday, September 4, 2010

Holiday Mini Projects from Studio1Stampers Meeting!

In my blog yesterday I mentioned that we had been to a Studio1Stampers meeting with Laura Barto.  She had four projects we could make--all using items from the Holiday Mini catalog. 

Christmas Collage is a large wooden background stamp.  Laura stamped an image of the stamp on a piece of vellum.  She cut it to fit inside the stamps plastic container and positioned it so you could see the stamped image through the box lid.  She then took 4 different Stampin' Spot inks and applied the ink (rubbed it around)  to the box's lid in the areas where she wanted the color on the stamped image.  Then she lightly spritzed the box top with water mist.  When the color on the plastic lid beaded up, she placed a piece of white glossy paper on top of the box.  Then she placed a sheet of copy paper on top of the box top and lightly rubbed the paper over the area covered by the glossy paper.  This process transfers the ink colors to the glossy card stock.  Carefully remove the glossy paper and allow it to dry for approximately 2 minutes.  In the meantime, we inked the Christmas Collage stamp with Early Expresso.


When the card stock is dry enough, place the colored side down on top of the inked stamp.  Rub lightly with the copy paper over the card stock to insure transfer of the Early Express ink to the colored side of the glossy paper.  Each image will be unique.


This matchbox chest is filled with Gift tags that were stamped and punched like the Dec. 25 tag on top of the chest.  The fabric ribbon is cut from the new Stampin' Up! fabric.  Notice the stripes in the fabric all match the cardstock in the chest.  The matchbox die-cut is for the Big Shot.  It cuts the shape, scores the fold lines and will even put perforations in to make the more difficult folds easier!


The Vintage Wallpaper embossing folder and the distressing tool where used to texturize this card.  The image was stamped in black and colored in with the Stampin' Up markers.  The rhinestones and ribbon dress the card up nicely!


This is the coaster from the Holiday Mini.  The die-cut for this shape cut all three layers at once.  I finished quilting the coaster at home tonight.  I did not have any white or natural quilting thread, so I decided to use the gold color--it makes the stitches easier to see.

Aren't these projects fabulous?  Thank you Laura for sharing these projects with us!

Friday, September 3, 2010

Christmas is Coming!

We went to the Studio1Stampers Group Meeting on Thursday evening.  The event was hosted by Stampin' Up Demonstrator, Laura Barto.  We made several projects, but I'm just going to post one tonight!  More projects and technique details will be given in Saturday's post!

This card uses the Christmas Collage stamp from the new Holiday Mini Catalog! 

Hope you enjoy the card!  Happy Crafting!
Related Posts Plugin for WordPress, Blogger...